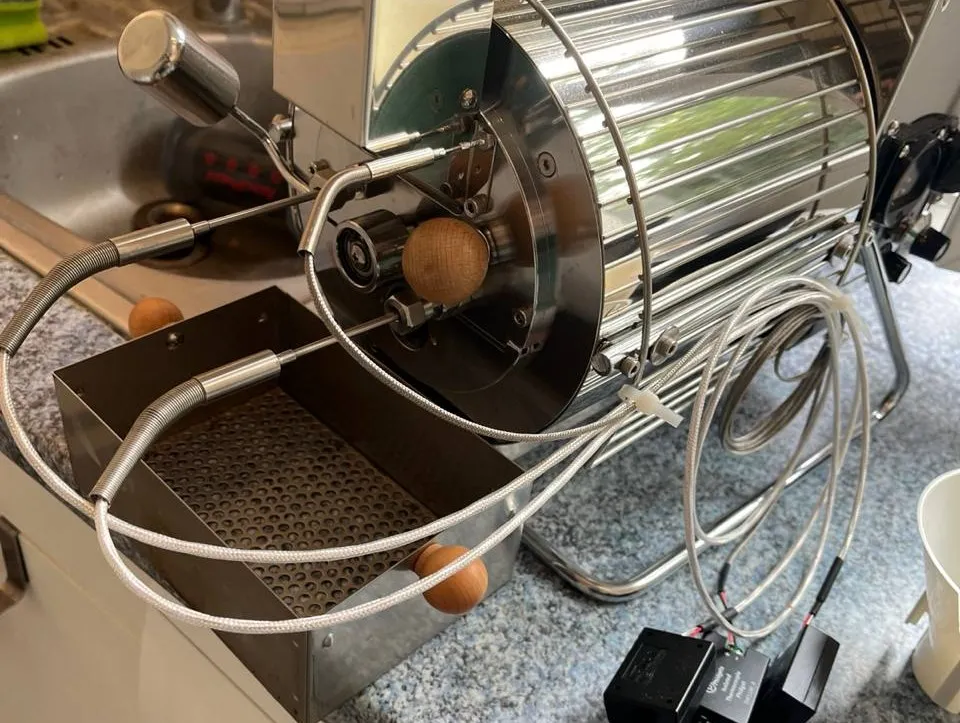
During the week I took delivery of some new toys for my Quest M3s, which is slowly starting to look like it’s growing tentacles with all of these thermocouples, but I swear they’re all useful.
I’ve spent the last few months fighting a particularly tough bean to roast, an Ethiopian Bonga-Chiri that was suspiciously cheap (possibly due to old age) and no matter what I did it always ended up with my roasts being filled with acridity and just not that tasty. Something had to change and some sleuthing on my favourite forum in the entire world led me to suspect that overly high temperature in the roaster was the main culprit. Seems the smart folk over there were right.
The Quest M3s is a very capable home coffee roaster, but, being a data nerd, I’ve always loved tinkering with my roasters and performing the essential process of getting them hooked up to Artisan. For someone as useless as me at sensory perception, having all that data to confirm my mistakes is pretty crucial. I’ve already got 2x RTDs measuring bean-temperature (BT) and environmental-temperature (ET) inside the drum, but according to the internet, one essential piece of the puzzle was missing: MET.
Side note: I think the Bonga-Chiri region can be found here on map page 32. Shout-out to the amazing coffee-scholars, by the way; this atlas is awesome!
What is MET?
In coffee roasting, MET stands for “Maximum Environmental Temperature.” This refers to the highest temperature reached in the roasting environment, typically within the roasting drum, but in my case we’re going off the grid and measuring the temperature between the drum and the roaster body.
This is supposedly where the manufacturers of the Quest series of roasters recommend to measure it, and especially where knower-of-all-things-Quest, Maurice Nunas (with the help of CarefreeBuzzBuzz and spromance from the HB forums), recommends to place the probe for the MET measurement too (Quest Coffee Roaster Handbook, 2021, p. 16). (Btw, if you are a Quest M3/M3s/M6 owner and haven’t read this yet, you’re doing yourself a disservice. Go read it.)
A lot of this information is based of the incredible work of Eric Svendson (aka EricS) in the early days of Quest M3 adoption, where fellow data-nerds were trying to eke out the perfect roast from a machine that really shook up the scene from day one. Thanks, Eric, for being a pioneer in the home roasting space 🤝.
What was on the shopping list?
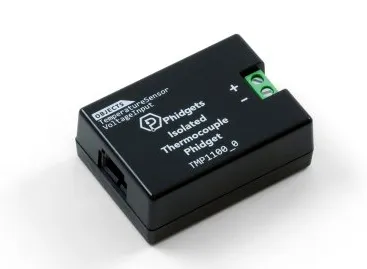
- 1x Phidget TMP1100_0 – 42.76€
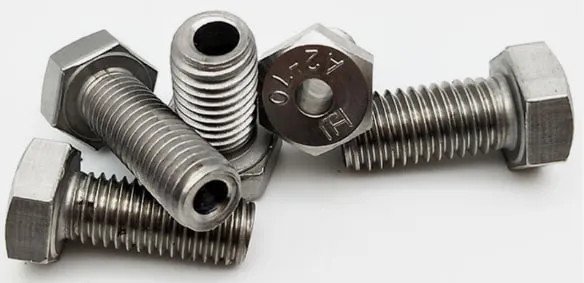
- 1x M4 x 0.7mm x 10mm hollow screw with a 2.0mm hole – 8.96€ (I was forced to order two, so this came out a bit pricy)
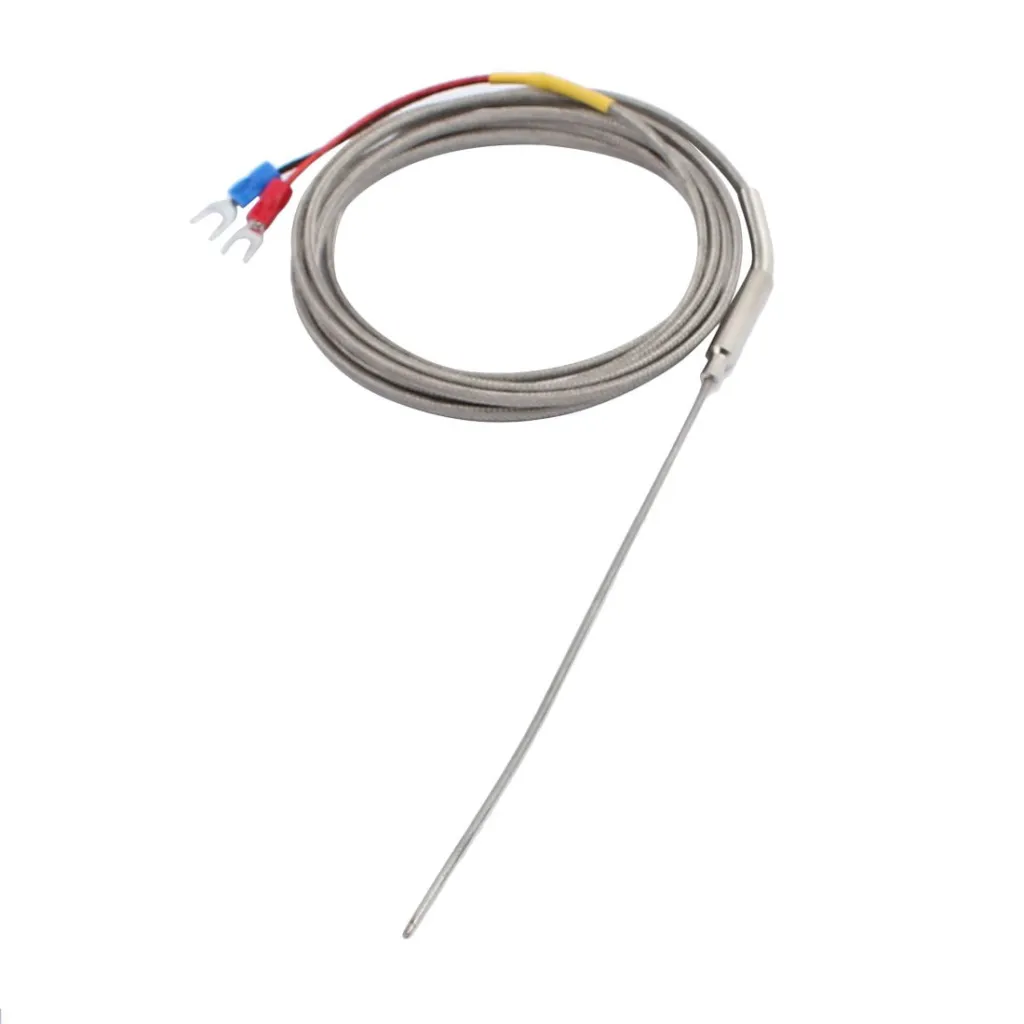
- 1x 150mm x 1.5mm K-type thermocouple – 15.74€
Grand total = 67.46€
No one has ever said coffee roasting is a way to save money.
Installing the MET thermocouple
This was super easy. 1/5 expertise level.
As my roaster has an element in the top left and bottom right of the body (when the faceplate of the roaster is facing towards you), then the top right screw of the bean-chute is my desired probe position.
First thing to note is that the 1.5mm probe I purposefully ordered a bit smaller than the diameter of the hollow screw in order to not have to worry about it not fitting and then having to widen the hole. Aluminium foil is a gift from the gods here, so I just wrapped a piece cleanly around the probe a couple of times until it made the probe nice and snug in the screw.
Second, is that my thermocouple came with some attached spade-connectors. I just snipped them off using wirecutters, removed the sheath to have about 5mm of the wire exposed, and then they’ll fit right into the TMP1100_0.
- Unscrew the existing bean-chute M4 screw in the top right position and replace it with the hollow screw.
- Ensure the probe is straight (mine came a bit bent from the shipping, but it’s fine to just straight it back out as best as possible) and that is has 1-2cm of foil wrapped around it evenly about 2 cm from the base of the thermoprobe
- Insert the probe into the screw hole and then snug it up with the foil so it’s not sliding around.
- Route the wiring to the right side of the machine and zip tie the slack of the probe to the heatguard of the Quest M3s so that nothing is moving around. You want that probe to stay in the same position so that your measurements are consistent. Don’t worry about the absolute perfect position or exact alignment with other user’s measurements, just worry about consistency of your setup (as is always the case with roasting!).
- Ensure you’re connected to your Phidget, and test with the Phidget Control Panel to check the temperature measurement.
- Turn the roaster on and give it some heat. If the temperature goes the wrong way (i.e. it measures a lower temperature as you turn the heat up), then you’ve got your wires connected backwards to the Phidget.
- Open up Artisan and, in my case, I simply had to add an Extra Device by selecting the TMP1100_0 and it all just worked. I labelled it MET, made the colour green ’cause it’s cute, and I was done! Artisan isn’t that scary once you get to know it.
Initial testing and first roasts
Holy crap my roaster gets hot.
I tended to go full wattage for my charges and when testing the MET reading on an empty roaster I was flying past 300c (572f), which, according to our handy guide from Nunas when discussing other users’ experience, is too high (Quest Coffee Roaster Handbook, 2021, p. 5). So my challenge was to wrangle this under 300c for the entire roast.
And wrangle I did.
First, here’s my pre-MET between-batch-protocol (BPP) and roast profile I’ve been using for the last few roasts. I have a wattmeter measuring the total wattage of the Quest, so I drive all my roasts from that. I am on 230v in Germany and I use max air all the time.
BPP + Roast Profile without MET
- Preheat at 800w for 30 mins or so, until I hit 200c (392f) BT.
- Turn the heater off until the BT drifts down to 185c (365f) BT.
- Turn the heater up to max (approx. 1250w).
- When BT is 200c (392f), charge 200g (7oz) and turn the heater completely off to begin a soak.
- 1 minute after charge, turn the heater back to full (approx. 1250w).
- At dry end, begin to reduce heat in 100w increments down every 30 seconds to one minute.
- As first crack starts, generally my wattage is 200-400w and I’ll most likely turn the heater completely off within a few seconds after first crack starts.
- Drop at desired temp.
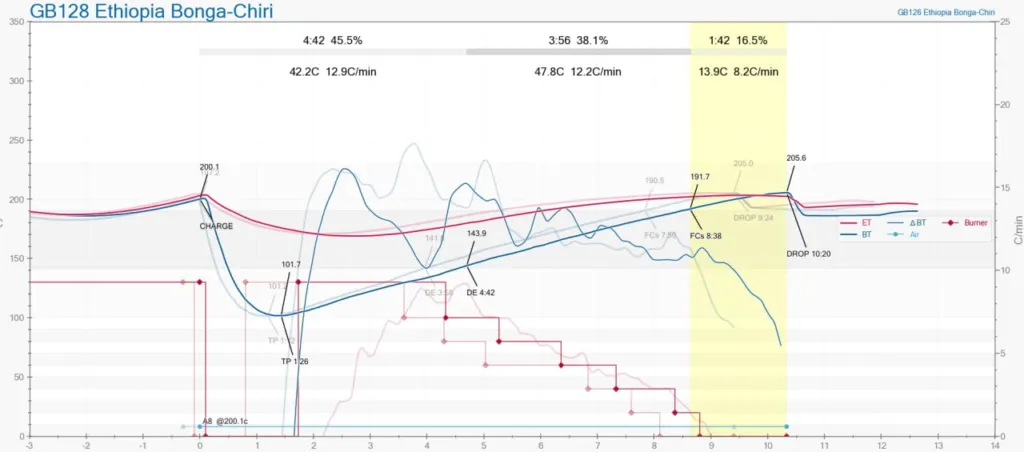
This was a fine way to roast, but acridity always crept it. Things are too damn hot.
So it was now time to try roasting with MET as one of my key metrics with an aim to keep it under 300c (572f) and landing in first crack territory between 245-275c (473-527f), based on this ever-insightful post from another_jim (aka Jim Schulman) on home-barista.com.
With that thermometer location, you want to keep the readings between 245C and 275C as you approach the first crack and beyond… If you go up to 300C early in the roast, before the first crack, this will not damage the beans. But you’ll have excess heat to dump as you approach the first crack. If you don’t manage it, you’ll end up with a subtle burnt toast edge in the coffee’s taste. –
another_jim
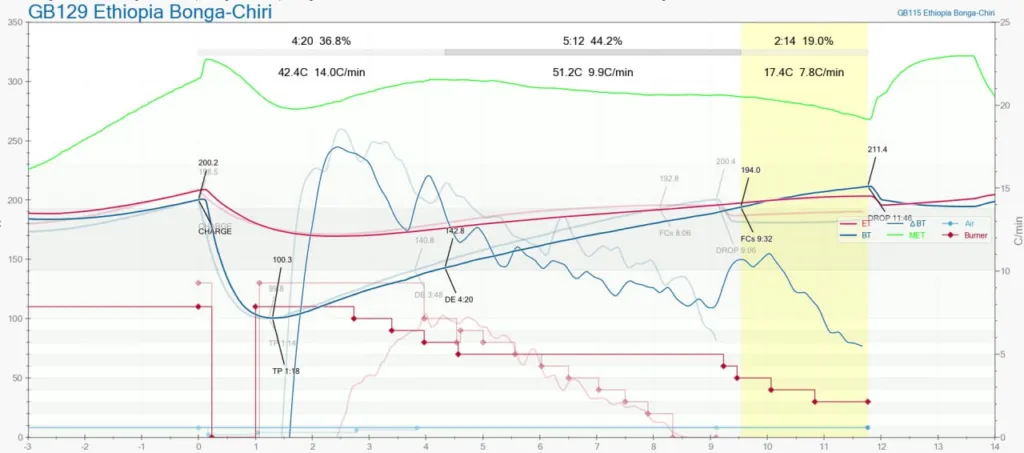
BPP + Roast Profile with MET
- Preheat at 800w for 30 mins or so, until I hit 200c (392f) BT.
- Turn the heater off until the BT drifts down to 185c (365f) BT.
- Turn the heater up so wattmeter reads 1100w.
- When BT is 200c (392f), charge 200g (7oz) and turn the heater completely off to begin a soak. (NB: when you open the cover for the charging chute, the MET will spike up)
- 1 minute after charge, turn the heater back up so wattmeter reads 1100w.
- Don’t let the MET go above 300c (572f). This was the first big difference to my previous profile. I essentially had to drop down 100w every minute or so as the MET kept sneaking up.
- At dry end I was already at 700w, so I left that there as the MET was happy at just under 300c (572f).
- About 1-2 minutes before first crack, I had to again start dropping the wattage in 100w increments.
- As first crack starts there was a BIG spike in BT upwards, so subsequent roasts I started to drop wattage even earlier to smooth it out.
- Aiming to hit the MET range coming into first crack was tough, so I will experiment with lower and lower wattages coming into that milestone.
- For the first roasts I just ended up at about 19% development-time-ratio (DTR) and dropping at about 210c (410f) with MET in the top-end of Jim Schulman’s first-crack range.
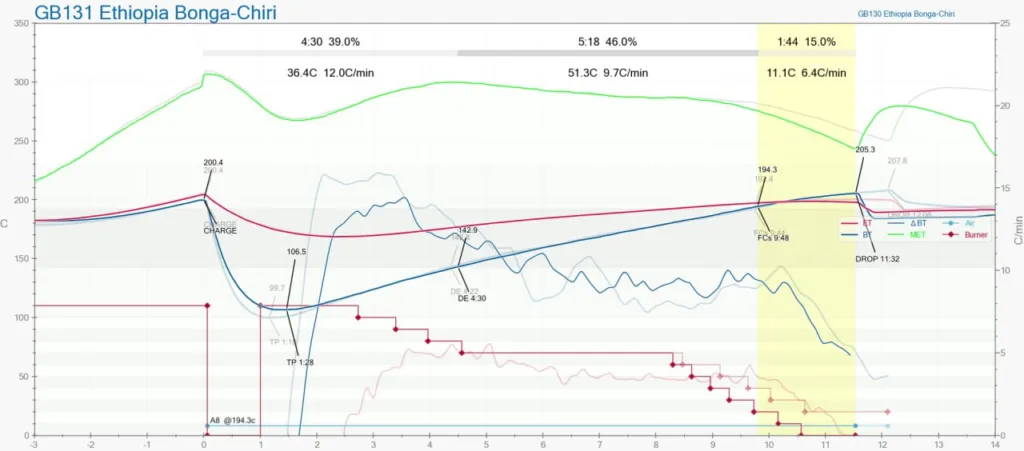
The results and next steps
Immediately I knew this was a better roast. Crunching the beans from the first test, I could taste way less acridity: exactly what I was aiming for.
I tried two more roasts after the first one, each time dropping the first crack MET a bit more, and by the last one I really had a banger on my hands. I did just 15% DTR on the last test roast and brewed it about one hour after roast and it’s absolutely superior compared to previous roasts of this bean. Most of this post was written while enjoying it, so I think it’s helped contribute to my creative spark that the last roasts just weren’t giving me.
Adding the MET measurement is a clear benefit here for me and I’m super excited about the next roasts I can adapt to this new measure, especially with some of the lovely Villa Flor Pink Bourbon natural I’ve got from Colombia (and imported by the super team over at Col-spirit).
As roasters we tend to love data and if you’re someone like me who needs all the help they can get, then more data equals more ways to highlight your failures, which leads to correction and overall improvement.
Thanks for stopping by, and as always, happy roasting!
If you’re into Instagram, feel free to follow along on my coffee adventures.