Quick history of the Weiss Distribution Technique
The Weiss Distribtution Technique (WDT) is a simple process of using something sharp and thing to declump and stir espresso grinds. The technique followed a range of other espresso distribution options that were popular at the time such as the NSEW and Stockfleth’s Move, that were being utilised by professional and home baristas alike to achieve an even distribution, and therefore an even extraction from their espresso.
The WDT was first documented back in 2005 by John Weiss, also known as RapidCoffee on the Coffeegeek.com and home-barista.com forums, but at the time of writing this article (April 2021), the coffeegeek forums were offline, so going deeper down the WDT rabbit hole was impossible until the reopening of the forums. However, after extensive research, the earliest known live record of the WDT is in this thread on home-barista.
It might not seem like much, but it’s worth pausing to highlight the incredible importance of this innocuous piece of information to almost every single home espresso-focused barista today. This cheap, completely DIY invention, has possibly caused some of the greatest uptick in drinkable shot quality since the E61 grouphead was invented.
Ok, that might be a stretch, but the advice given by John Weiss did indeed create a fledgling niche market for tools to be used to conduct the WDT, as well a huge swath of DIY options from the endless creativity of the many coffee forums.
On a side note, one other interesting tip from the thread is from user another_jim, whose real name is Jim Schulman, who in post #3 is advocating for single dosing into grinders without the hopper, possibly one of the earliest references to single dosing before it became almost the standard for any barista at home.
Jim is also one of the greats on the forum, sharing a huge amount of knowledge from the earliest days of coffee geekdom, and has undoubtedly been partly responsible for the popularisation of espresso making at home.
What exactly is the WDT? The technique boils down to:
- Find some sort of funnel to sit on your portafilter, allowing you to dose coffee above the rim of the basket. In John’s case he used an old yoghurt cup.
- Dose your desired amount of espresso grounds, no matter on how clumpy they may be.
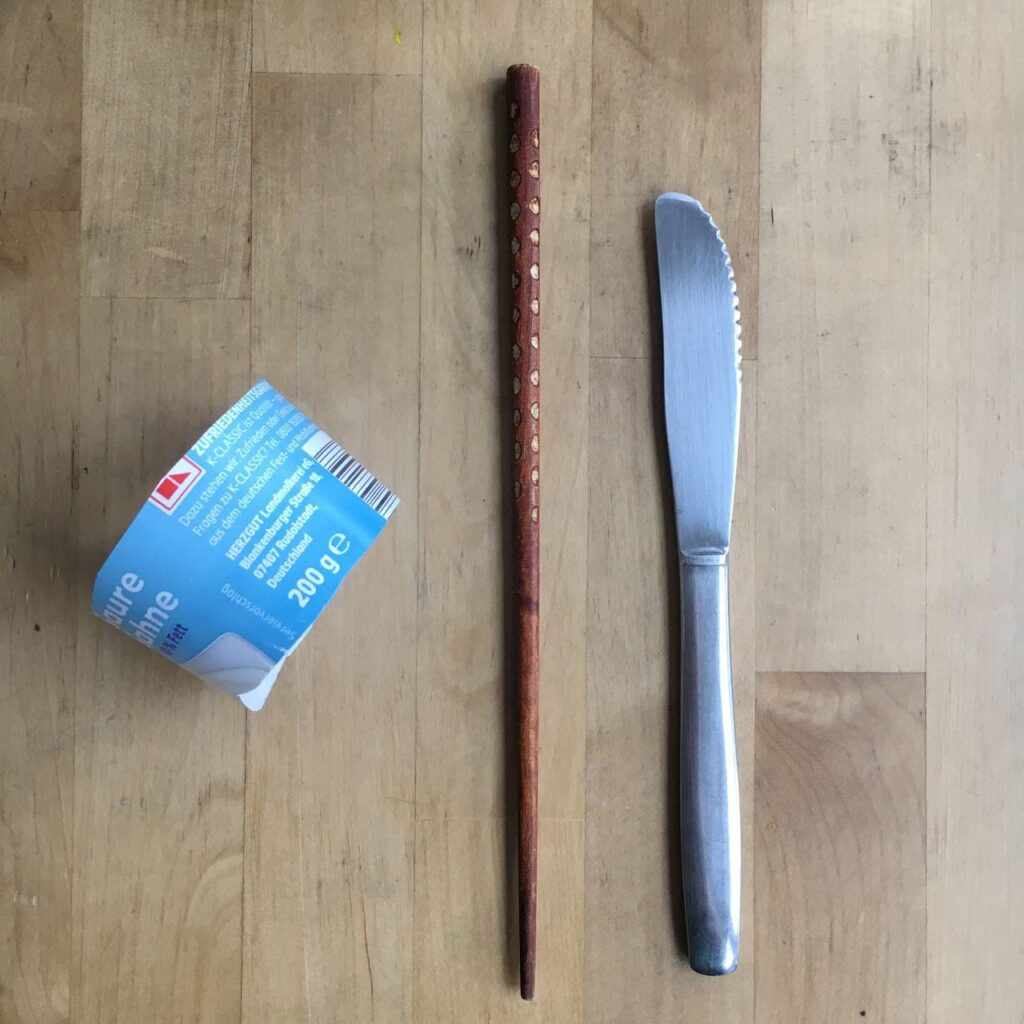
- Use something thin to “chop” up the grind into a more even consistency, and allow them to be distributed more evenly in the basket. John seemed to have used a stick with a sewing needle stuck in it.
Capitalising on the WDT tool
The coffee world is rife with gear. Some things are really useful, like scales, or a gooseneck kettle, and when buying those pieces of equipment you can find a huge range of kit from super cheap to eye-burstingly expensive. And with those inventions came the boutique versions of what should be a simple and cheap execution. One of the prime offenders of this is the Weiss Distribution Technique (WDT) tool.
Over time, the WDT became an almost essential part of any barista’s routine. Not so much on the professional scene, as the time taken to perform the technique is too time consuming, but for the home barista it opened up the doors to mitigating some of the effects of clumpy grinds such as channelling. The need for a competent piece of equipment to perform the WDT was pretty clear.
Coffee gear manufacturers have known for a long time that coffee nerds have a willingness to spend fairly exorbitant amounts of money on any piece of kit that gives them an extra sliver of a percentage on their TDS in their espresso, and would do almost anything to create godshots they could film coming from their naked portafilters. So naturally the market flooded pretty quickly.
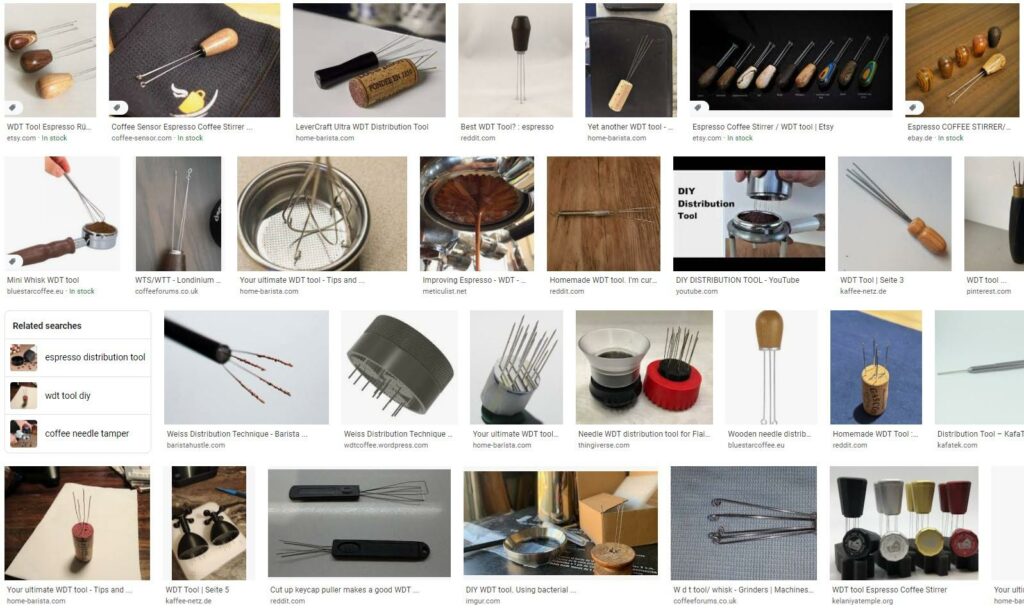
For example, here’s a WDT tool you can buy for a mere GBP £36. Now Londinium make amazing coffee machines, but this really is a stretch to sell this with a straight face. You can find similarly priced and styled options on Etsy too. Or, if you keep on reading, you can have one for however much a bottle of wine costs at your local and some toothpicks.
How to make a WDT tool for (almost) free:
- Find a bottle of wine with a cork in it, drink the wine, and save the cork. Or just find a cork somewhere but your level of fun may vary.

- Source 4-5 toothpicks and a pair of pliers. There’s no hard and fast number here for the toothpicks, it usually just depends on how big your cork is.
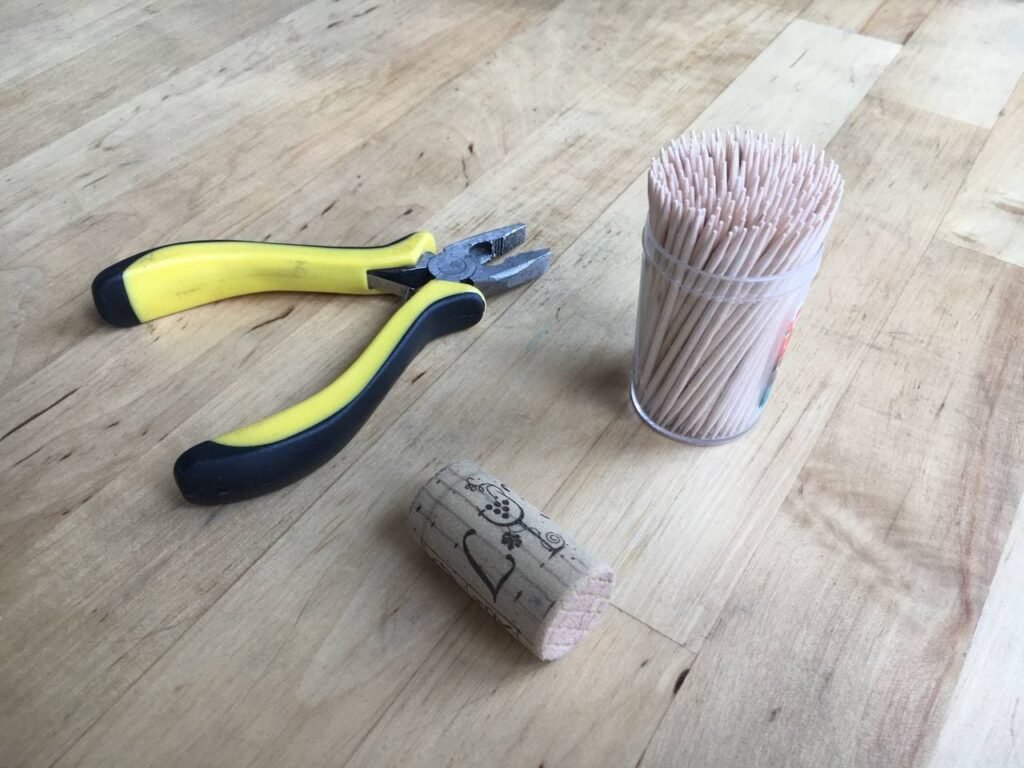
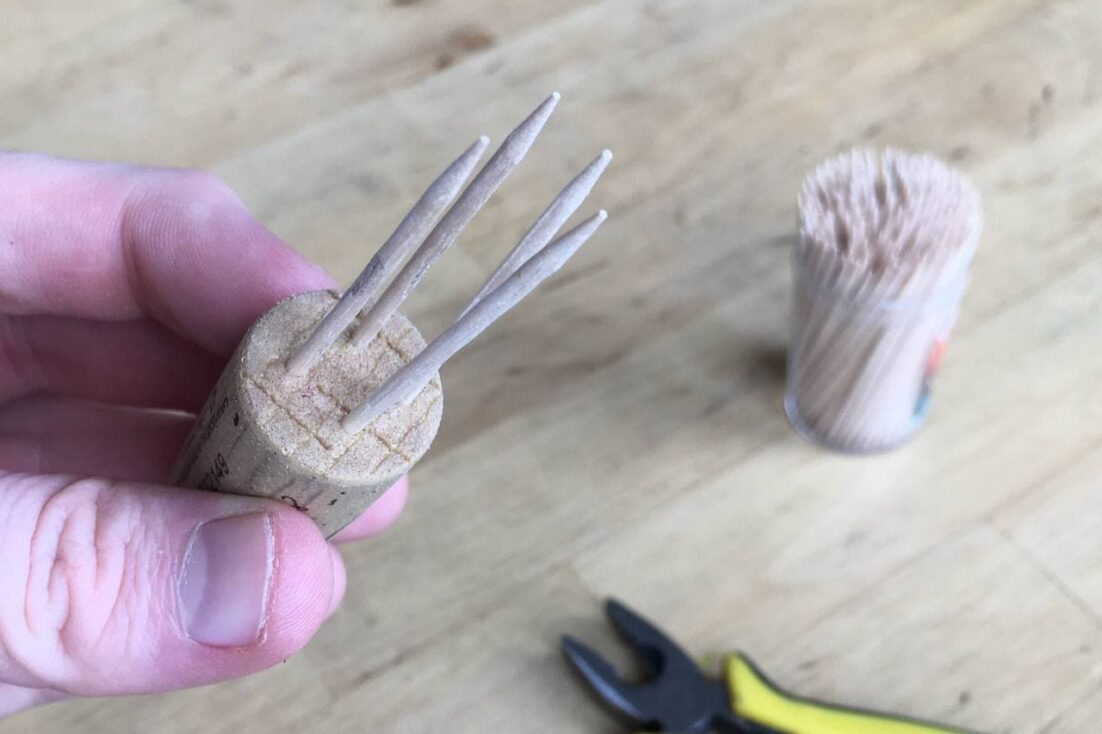
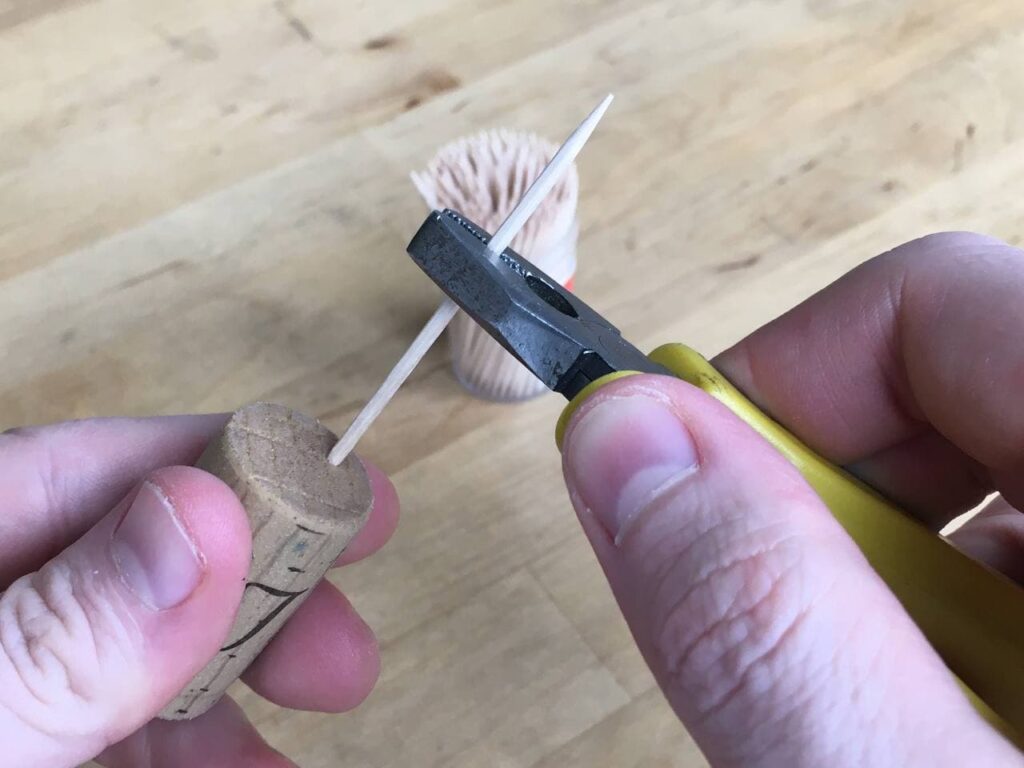
- Grab a toothpick with the pliers, push the end of the toothpick into the bottom of the cork so it sticks directly out. I usually push it in about a 1/4 of the length of the toothpick.
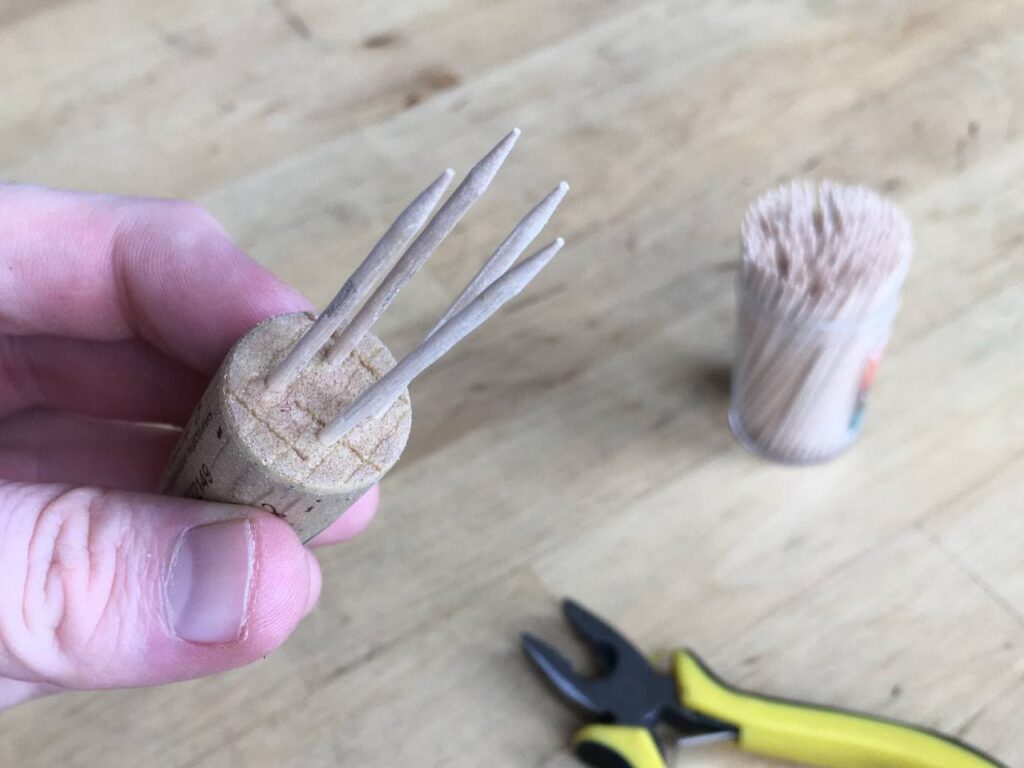
- Repeat for the other toothpicks in some sort of even distribution around the base of the cork.
- Go celebrate your savings with another bottle of wine!
That’s it! You just made the crucial element of the WDT. Here’s a quick recap video if you need some further guidance.
Now, when it comes to the funnel, I actually strongly advocate for a paid solution, especially one that doesn’t sit on the inside edge of your basket, but rather sits flush along the top rim, due to being able to tamp with the funnel in place, and it not creating a gap between the edge of your basket and the bed of coffee when you remove the funnel.
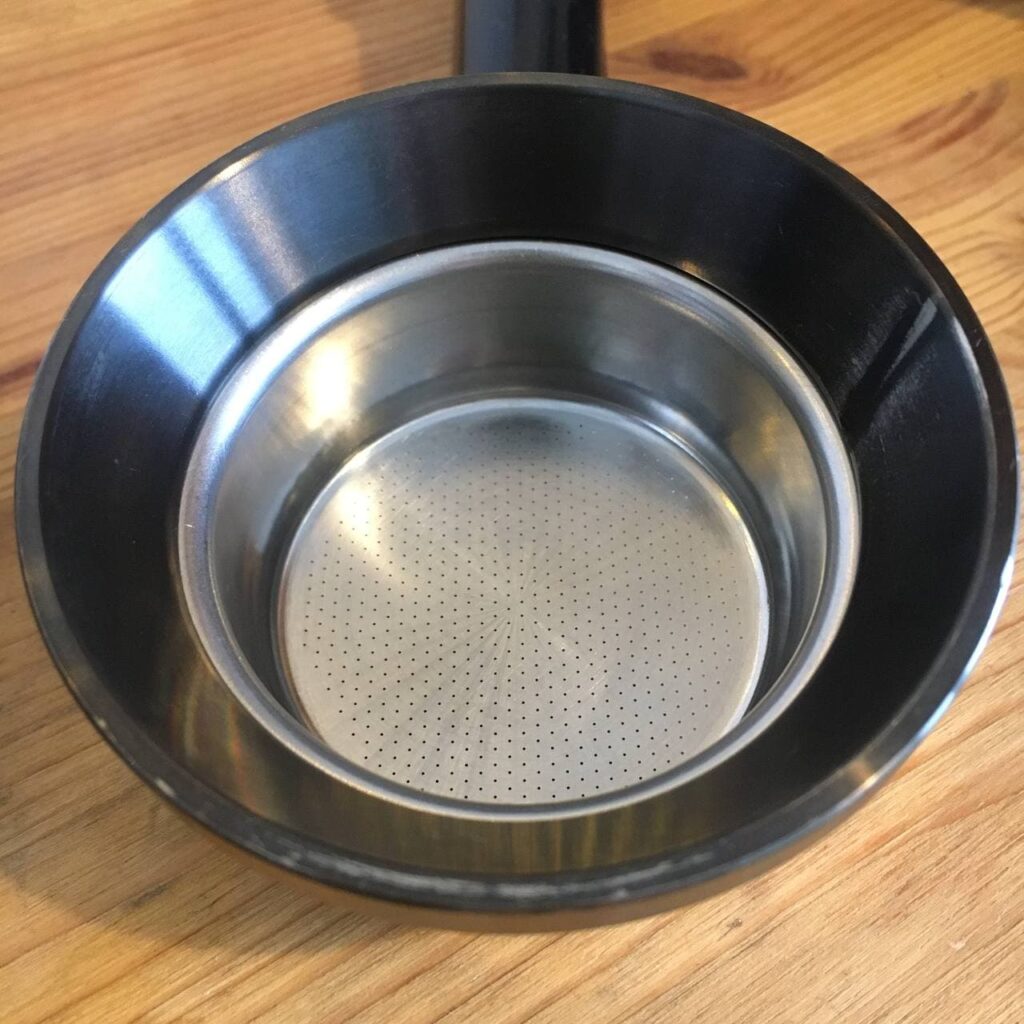
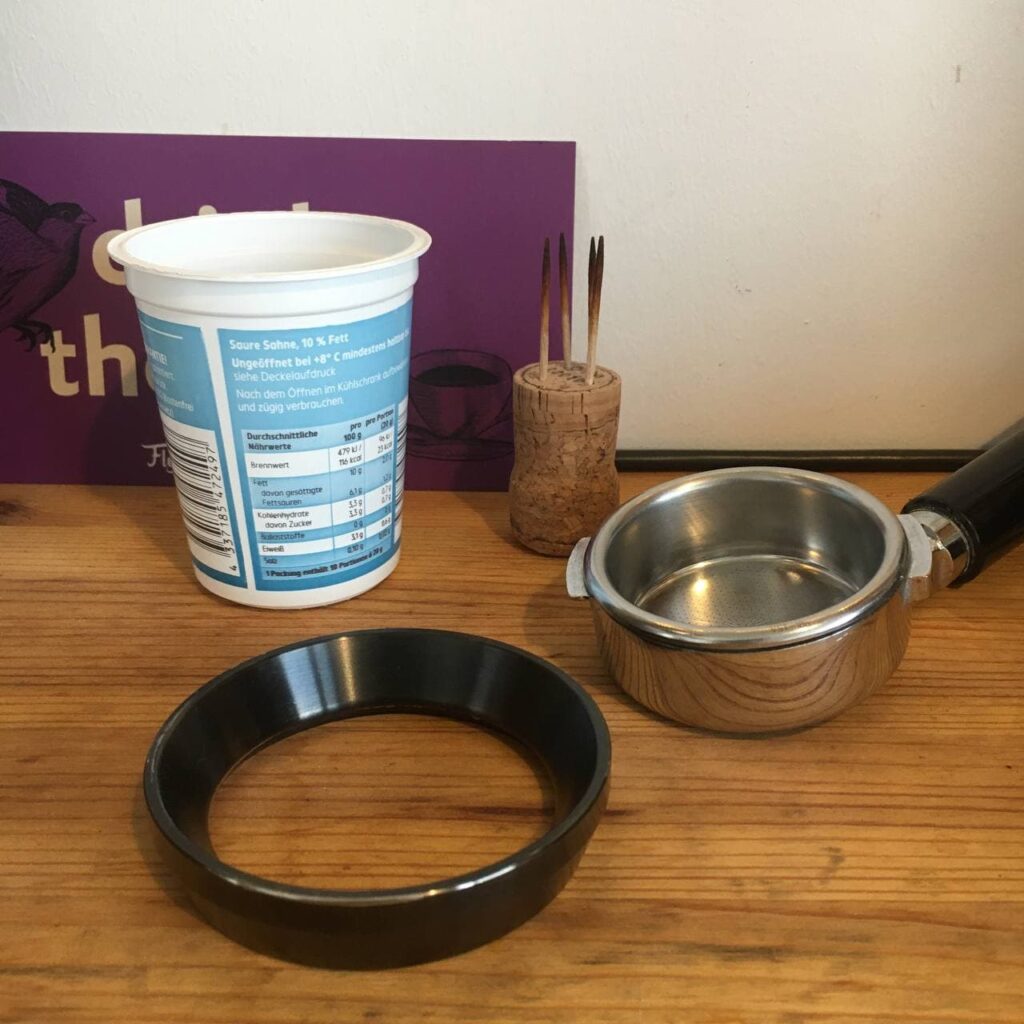
Again, there’s a range of options out there that can get mighty expensive for what they are. Mine in the picture above cost me approximately €8. They can go as high as €35, but the choice is yours, and it’s worth investigating which company you’re willing to support.
Another reason to advocate for metal is the stability when you’re performing the WDT. After doing it for a few months with a plastic yoghurt cup, the change to a metal version off eBay was a huge upgrade.
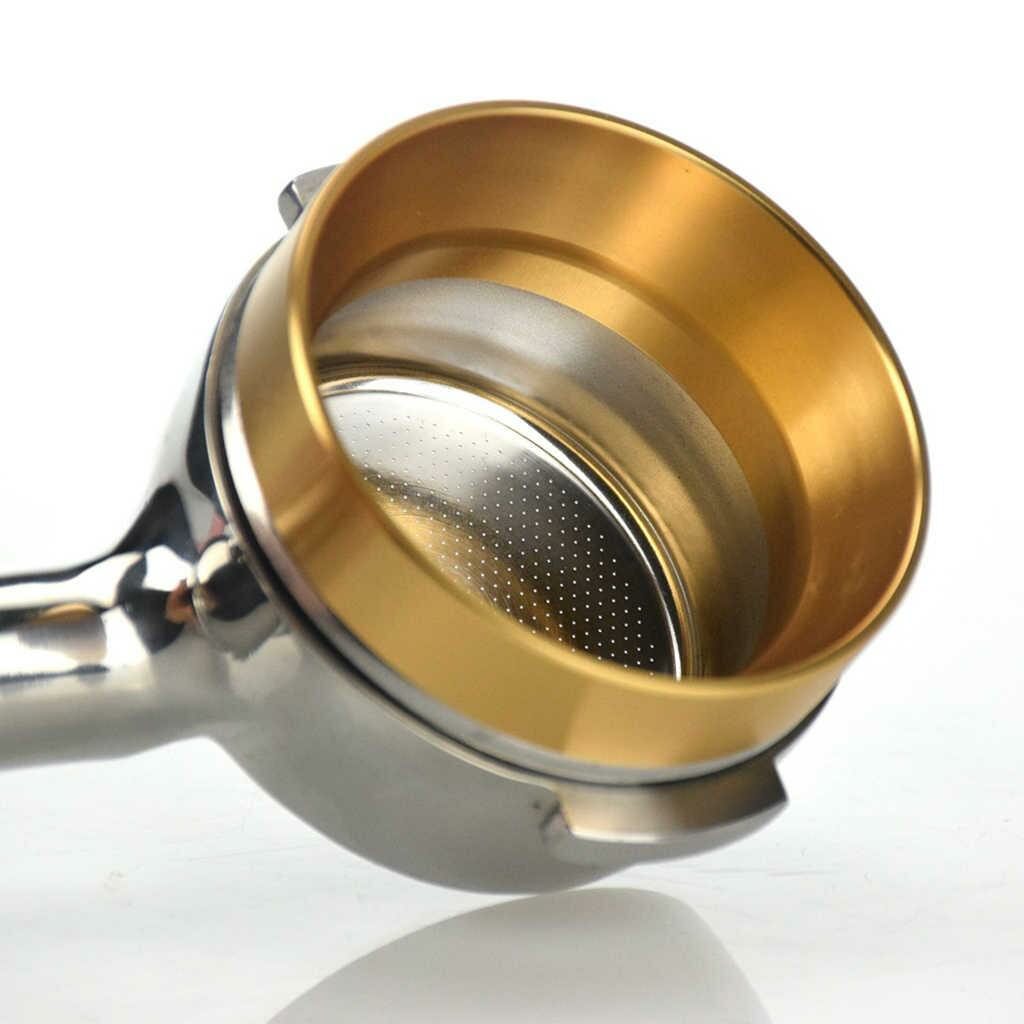
The metal option sitting inside the basket rim 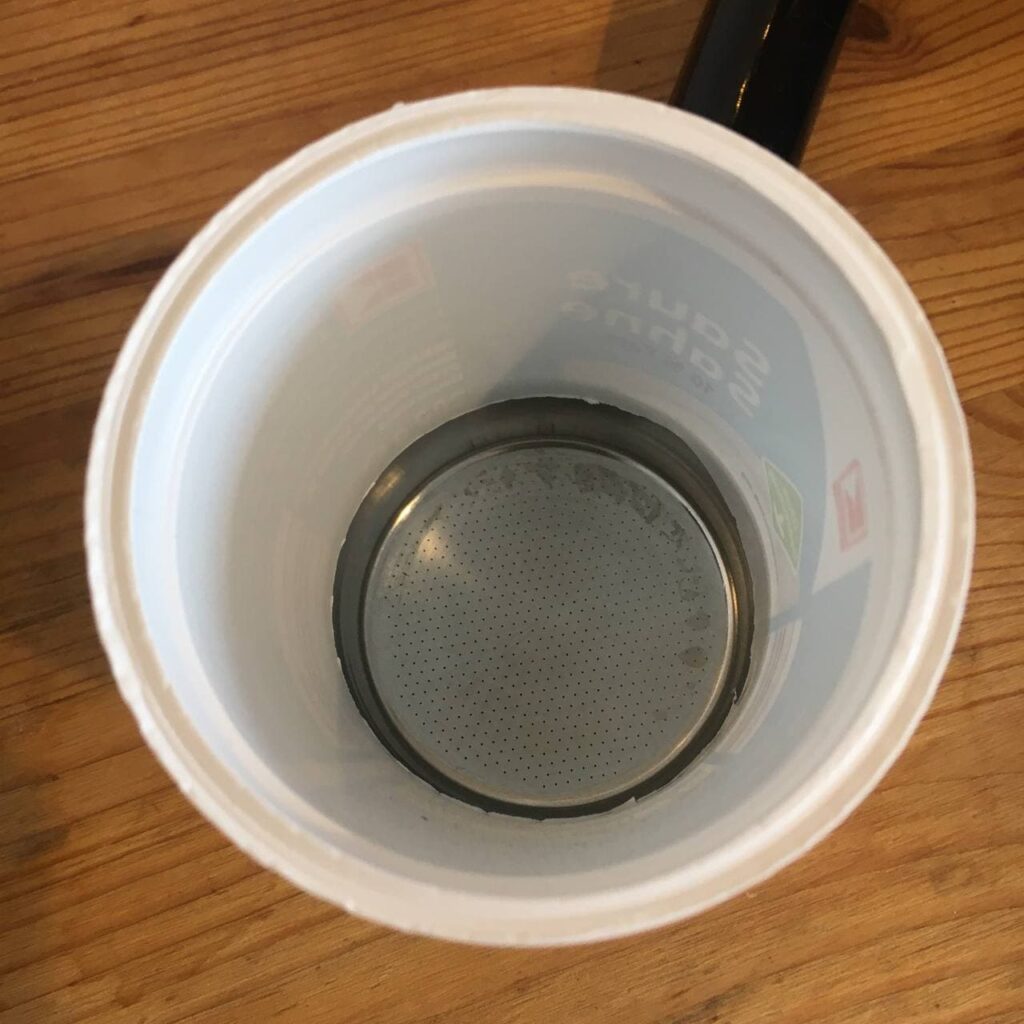
The plastic alternative from a cup of sour cream
So what does this mean for your coffee game going forward? Consistency, predictability, and less wasted shots.
Coffee is a wasteful enterprise, especially when we are all looking for the perfect shot and there’s only so many shots you can have per day. When one of those shots is off, you need to use water, coffee, energy, and time to perform your ritual again in the hopes that the next one isn’t a spritzing nightmare.
Using the WDT, you can massively reduce those sink shots, and potentially save big on your coffee consumption, and by doing it yourself, you can use those saved funds to support your local roaster from the comfort of your own kitchen.
A huge thanks to John Weiss/RapidCoffee for his contribution of the WDT to the espresso toolkit, and to the communities of home-barista.com and coffeegeek.com for adding so much quality to the daily ritual that we all love. I grew up on those and other forums like coffeesnobs.com.au and kaffee-netz.de, and they are responsible for turning a hobby into a career and back again.

